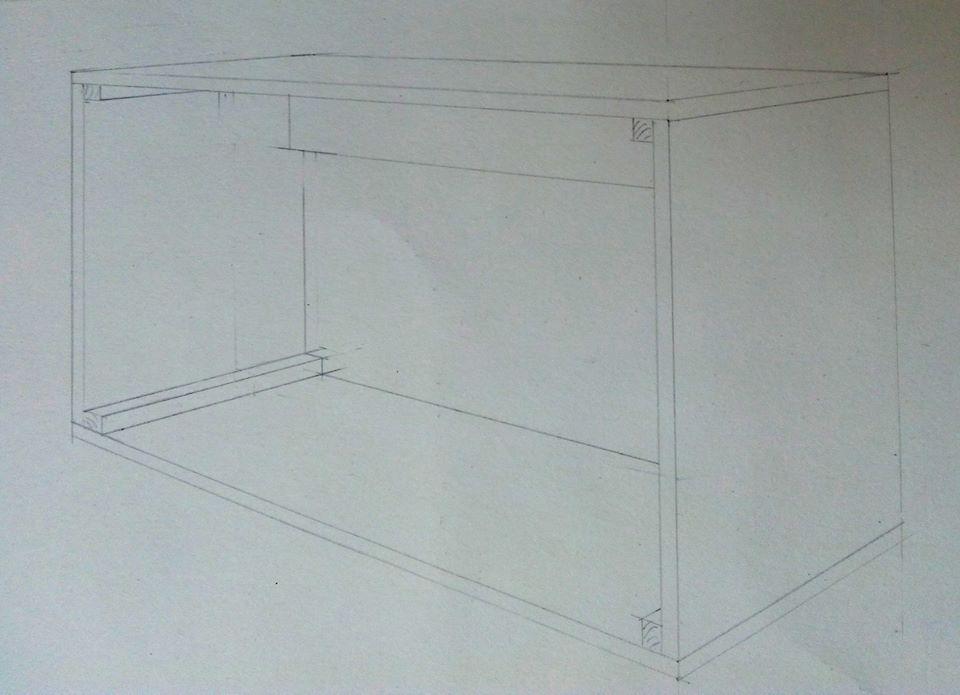
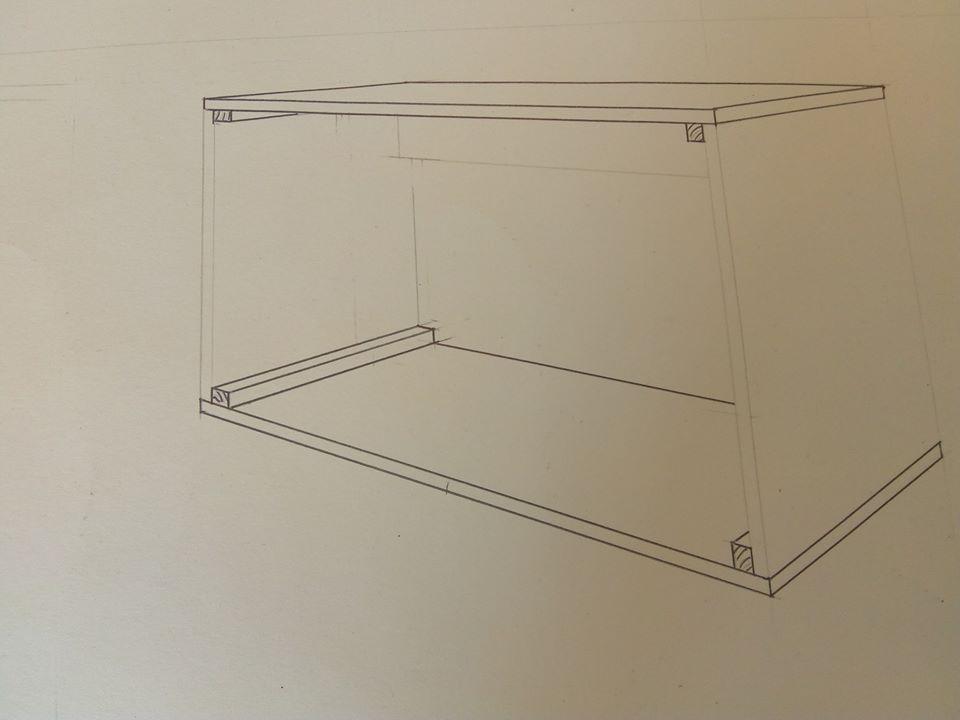
We have recently been asked about making a set of shelves in the style of a packing case. This is a straightforward project that you can adapt to suit the materials available and doesn’t need a lot of tools. The sketch shows how it’s put together.

Construction
You’ll need something to use as a bench. – a couple of chairs or an old table will do. You’ll also need:
- Pencil
- Tape measure
- Square
- Saw
- Hammer
- Two G clamps (useful but not essential).

Materials
MDF, plywood chipboard or solid timber will all work. You need enough for two long sides and two short sides, plus additional lengths for each shelf. The wood needs to be at least 12mm thick but can be thicker. The width of the wood can be anything you choose as long as all four pieces are the same.
The grain of the wood should be parallel to the longest side of each piece.
You can make up shelves from old floor boards as the tongue and groove edges are easy to glue together to make wider panels.
You’ll also need four corner reinforcements and similar strips to support any internal shelves. A triangular section looks best but might be difficult to obtain. Any square or rectangular solid wood greater than 18mm thick will do.
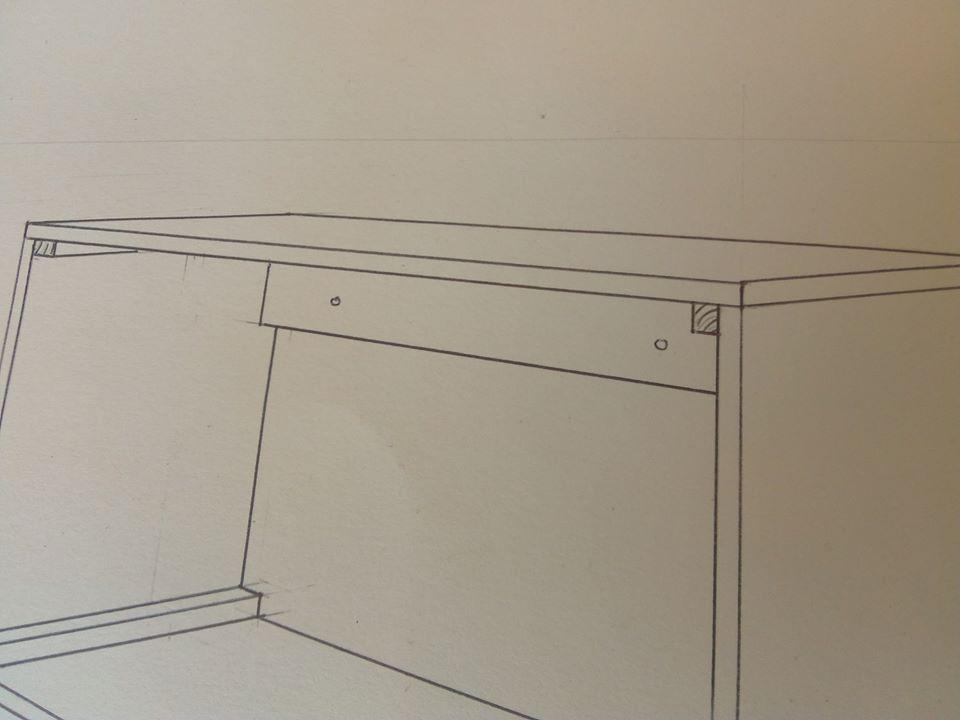
Rather than fit a back panel we’ll use a batten across the top of the unit to strengthen it and give a means of fixing to the wall. A piece of the same material as the sides will do. It needs to be the same length as the long side and at least 50mm wide.
You’ll need a handful of nails. These should be just under twice as long as your wood is thick. You also need some PVA wood glue.
Cutting

Take two of your corner strips. They need to be shortened to leave room for the top batten – you can’t quite see it in the picture but the corner strip stops short of the back. Place the batten across one end of each piece. Mark the thickness of the batten on the corner strip and saw off the excess.
Measure out the length of one long piece on your wood. Make a mark at the desired length. Extend the mark into a line across the wood at 90 degrees to the long edge using your square. Make sure the square is firmly butted against the wood before marking the line.
Rest the wood on your bench. You can cut freehand along the line by keeping the saw at a shallow angle to the surface and drawing it gently back and forth. Don’t press down or go too fast. Take your time and be gentle. You can adjust the line of cut by flexing the saw slightly.
If you’ve got a couple of G clamps you can clamp a wooden batten along the cut line to guide the saw but this isn’t essential if you’re careful. Remember to support the overhanging piece as you finish the cut or it will break off.
Repeat this operation with the remaining long section and each of the short pieces. Don’t worry about the shelves or the top batten, we’ll cut them later.
Assembly
Take the two long panels. Place one of the short panels upright along the end. Mark the thickness of the short panel onto the long panel. Repeat this at each end of both long panels and on both sides of the panels. You should have a line parallel to the end of each long panel, inset by the panel thickness. You can see where the corner strip goes in the picture.

Place one of the corner reinforcements along each of the lines you have just marked. Remember the top pair are shorter to allow room for the top batten. Both sets should be inset from the end of the wood by the thickness of the side, making a little step.
Once you’re sure the strips are correctly located take them off one at a time. Apply a thin coat of glue to the face that joins the shelf. If you are sparing with the glue and rub the the strip backwards and forward it will start to stick. Once this happens just slide the strip gently to its correct position.
When the strips are glued on turn the wood over and tap a couple of nails through the shelf and into the strip. You’ll need to support the strip firmly while you do this and be careful not to knock them out of position. The nails will hold the strip firmly while the glue dries.

Once you’ve fixed the corner strips just in from the ends of the long panels, place the short panels into the step created by this. Assuming they fit, you can glue them and drive nails from the outside into the corner strips.
Once the corners are glued up and nailed it’s best to leave the a assembled box flat on its back overnight. The corners might break if the box is handled.
When the glue is set you can insert the batten that fits under the top. This is attached in the same way you fixed the corners: a bit of glue where it meets the top and nails from outside the box. You’ll need to support the batten while nailing if you don’t have any clamps to hold it in place.

Once the top batten is secure drill two or three holes about 5mm diameter through it so you can attach the box to the wall. If you are having shelves inside you can nail and glue support strips on inside of the vertical sides and drop the shelves onto them when the glue dries.
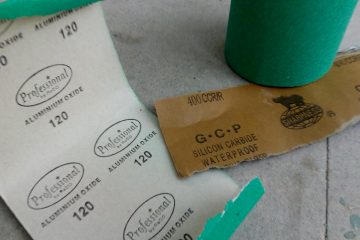
Then all that remains is to sand the wood as required and apply your choice of finish.


